You can make mimosas the night before if you control dilution, CO2 loss, and temperature. Work with concentrated juice, a conservative juice-to-bubbly ratio, and a pressure-rated stopper. Refrigerate upright at 34–40°F and label. It’s simple, but there are specific steps you’ll need to follow to preserve bubbles and balance.
Best Sparkling Wines for Make-Ahead Mimosas
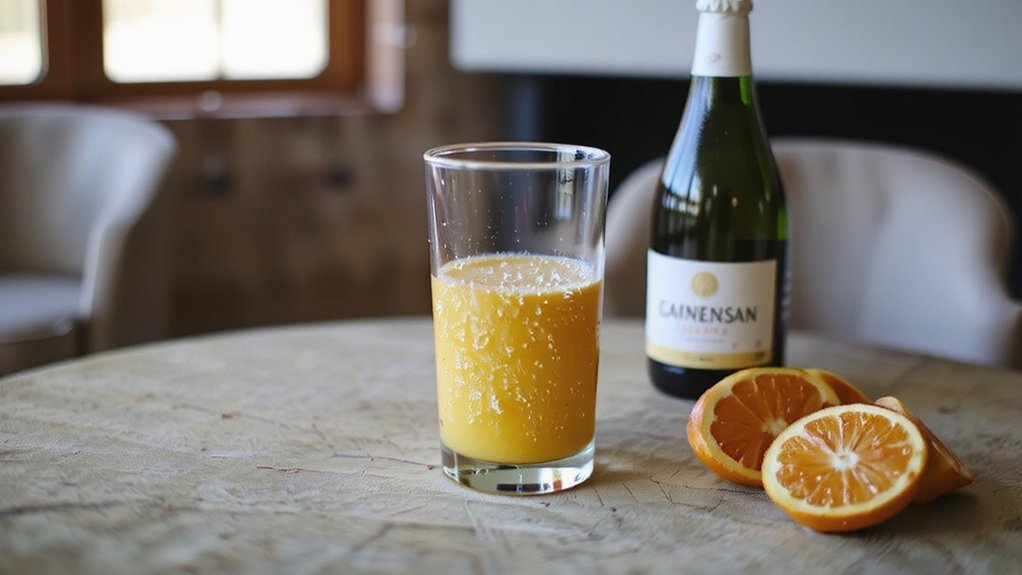
When you’re choosing a sparkling wine for make-ahead mimosas, prioritize acidity, effervescence retention, and modest dosage. You’ll favor wines with higher natural acidity (0.6–0.9% TA equivalent) and lower residual sugar to maintain brightness after overnight rest. Opt for méthode traditionnelle or tank-fermented examples that list pressure or CO2 retention metrics; these Regional Styles signal structural integrity. For cost-effective batching, test Budget Bubbles for foam persistence and organoleptic neutrality rather than prestige. Choose bottles with consistent perlage and moderate alcohol to minimize post-mix degradation. When you’re planning ahead, run small trials at refrigerator temperature to quantify headspace loss and flavor drift. Use these measured selections to assure your pre-mixed mimosas stay lively, balanced, and reproducible. Document results and adjust ratios for scalable, repeatable service consistency.
How to Concentrate and Store Orange Juice
You can simmer fresh orange juice over low heat to reduce volume and intensify flavor, keeping temperature low and stirring to prevent scorching and bitterness. After concentrating, cool to room temperature and portion into freezer-safe containers or silicone trays, leaving appropriate headspace for expansion. Seal containers airtight, label with date, and store at 0°F (-18°C) for up to three months to preserve aroma and minimize freezer burn.
Simmering to Concentrate Juice
Although simmering reduces orange juice volume by evaporating water, it’s the controlled, low-heat approach that preserves volatile aroma compounds and minimizes cooked flavor. For a reliable protocol, you’ll pour juice into a wide, shallow stainless-steel pan to maximize surface area and set heat to a steady gentle simmer — a true gentle reduction aimed at aroma preservation. Maintain 80–90°C (176–194°F) and stir occasionally to prevent scorching; monitor volume with marks or a graduated vessel. Reduce to desired concentration, typically 25–35% volume loss for intensified flavor without caramelization. Cool rapidly in an ice bath, then transfer to airtight, headspace-minimized containers and refrigerate. Label with concentration and date; consume within 48–72 hours for best sensory integrity. You can adjust reduction rate using gentle convection or steam.
Freezing Concentrated Orange Juice
Freezing concentrated orange juice preserves volatile aromatics and extends shelf life while avoiding heat‑induced flavor changes, and you’ll get predictable portioning for next‑day mimosas. Freeze in shallow, single‑use trays or measured silicone molds to accelerate solidification and minimize large ice crystal formation that damages cell structure. Control cooling rate: rapid freezing reduces crystal formation and preserves pectin stability, maintaining mouthfeel and clarity after thaw. Label units with concentration ratio and date; thaw in refrigerator to limit thermal shock. Use small portions to limit refreeze cycles, which degrade aroma and alter texture. When designing workflow, factor in required thaw time per portion and target dilution so you can reconstitute precisely before topping with sparkling wine. Monitor residual solids to prevent visual sedimentation during service presentation.
Airtight Storage Best Practices
Concentrating orange juice before airtight storage reduces headspace and limits oxygen contact, so seal containers promptly using low‑oxygen techniques. You should standardize concentration to minimize volume, chill before sealing, and remove free air. Employ vacuum sealing or inert-gas flushing; validate seal integrity with pressure decay or dye tests. Label with concentration, date, and storage temperature. For innovation, prototype PET and glass barriers, testing oxygen transmission rates. Rotate stock via FIFO and monitor for off-odors.
| Method | Benefit | Check |
|---|---|---|
| Vacuum sealing | Low O2 | Seal integrity test |
| Inert-gas flush | Protective layer | Gas purity check |
| Headspace reduction | Smaller O2 volume | Volume verification |
| Cold storage | Slows degradation | Temp log |
Follow these controls to preserve flavor and effervescence. Implement routine audits and sensor telemetry to optimize shelf life metrics now.
Mixing Ratios and Timing for Overnight Rest
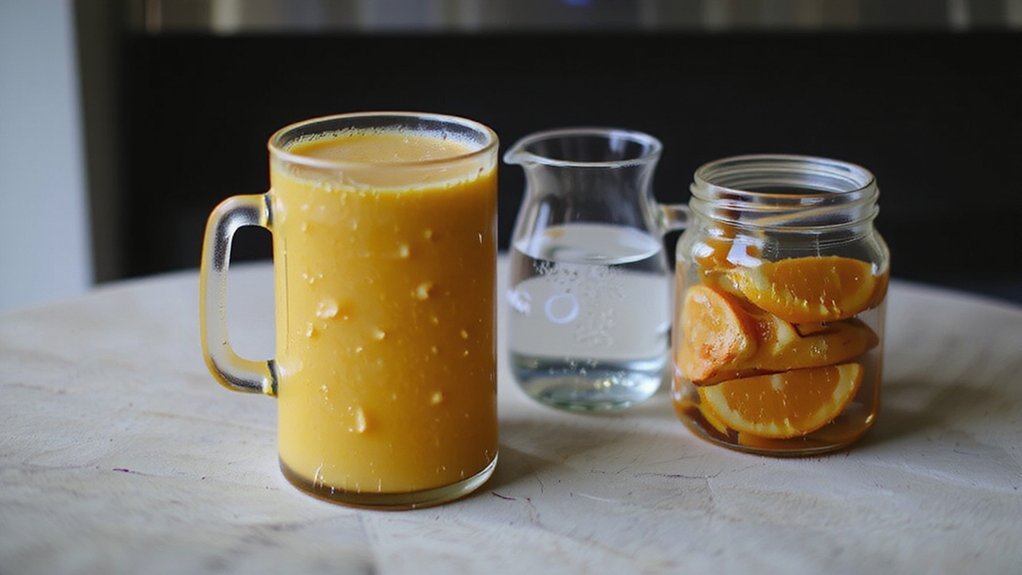
You should aim for juice-to-bubbly ratios between 1:1 (balanced) and 2:1 (fruit-forward), measured by volume. If you mix the full cocktail the night before, stir gently, seal, and refrigerate to minimize CO2 loss. Let it rest 6–12 hours; note that prolonged refrigeration reduces effervescence, so for maximum sparkle add most of the bubbly just before serving.
Juice-to-Bubbly Ratio
How much juice should you add when prepping mimosas the night before? Aim for a 1:3 to 1:2 juice-to-bubbly ratio by volume: one part juice to three parts sparkling wine for a light profile, or one to two for pronounced fruit. You’ll calibrate based on acidity balance—use slightly less juice with higher-acid citrus to avoid flabbiness. Factor in glass geometry: tulip flutes concentrate aroma and fizz, so you can lean toward the lighter end; wide coupe glasses mute effervescence, so increase juice slightly. Measure with a jigger, not guesswork. Stir gently to integrate without collapsing carbonation. Label batches with ratio and juice type. This systematic approach preserves structure and lets you iterate toward inventive, consistent results. Record temperature and provenance for reproducible flavor outcomes.
Overnight Rest Timing
When you mix mimosas the night before, plan the overnight rest as a controlled equilibration: refrigeration at 34–40°F for 4–12 hours will meld flavors while retaining most carbonation, whereas longer holds (over 24 hours) accelerate CO2 loss and gradual oxidation. You should standardize your juice-to-bubbly ratio before chilling, bottle small batches in sealed, pressure-rated containers, and orient bottles upright to limit surface area exposure. For innovation, experiment with 6–8 hours to optimize Flavor Melding and 10–12 hours to enhance Aroma Evolution without significant effervescence decay. Monitor headspace pressure if possible and use chilled transfer to serving glasses to preserve thermal equilibrium. When you need extended prep, consider adding a pinch of acidity or inert gas blanketing to slow oxidative shifts. for more controlled results.
Proper Storage to Preserve Bubbles
Sealing the drink immediately after mixing prevents rapid CO2 loss: transfer the chilled mimosa into a clean, pressure-rated bottle or back into the original sparkling-wine bottle and secure it with a proper sparkling-wine stopper (a clamp-style or spring-loaded stopper), then refrigerate upright at 34–40°F (1–4°C). You’ll maintain effervescence by minimizing headspace and stabilizing temperature; calibrate your fridge to tight temperature control and avoid door openings. Monitor bottle orientation—store bottles upright to reduce liquid movement and limit CO2 diffusion into headspace. For transport, use insulated carriers and keep bottles vertical. When you unseal, do so gently to preserve nucleation patterns. If you need multi-bottle storage, stagger chilling cycles and use freshly chilled bottles to equalize pressure. These steps optimize bubble retention and sensory impact consistency.
Finishing Touches: Garnishes and Serving Tips
Choosing precise garnishes and following controlled serving steps will maximize aroma, appearance, and bubble integrity for your night‑before mimosas. You’ll select glassware selection deliberately: taller flutes concentrate aromatics and preserve effervescence perception, stemmed coupes increase surface area for citrus oil release. Chill glassware to service temperature to limit thermal shock. Use herb garnishes sparingly—single rosemary sprig or mint leaf—positioned to avoid submersion and flavor bleed; secure with a skewer if needed. Prepare citrus wheels or peels immediately before plating to release essential oils without prolonged exposure. Pour gently at a 45° angle and top with a minimal fresh juice float to refresh aroma. Label batches for consistency and serve within an hour of opening to maintain intended sensory profile. Adjust presentation carefully.
Troubleshooting Flat or Overly Sweet Mimosas
If your batch tastes flat or overly sweet, check three primary variables: carbonation, juice strength, and temperature. First, assess carbonation by measuring dissolved CO2 visually and sensorily; flat mimosas regain snap by chilling to 38–42°F and stirring in a small volume of freshly opened sparkling wine per liter to restore target carbonation (3.5–4.0 volumes CO2). Second, quantify juice strength—standardize Brix to 10–12% or dilute concentrated juice with filtered water to adjust sweetness while preserving citrus acidity; use a refractometer. Third, control temperature throughout service; warmer drinks dull effervescence and amplify perceived sweetness. Finally, re-evaluate glassware selection—narrow flutes you’ll preserve bubbles longer than wide bowls. Implement these corrective steps and validate with taste and CO2 measurements. Record adjustments for repeatable results and continuous optimization now.
Conclusion
You can prepare mimosas the night before by mixing chilled sparkling wine and orange concentrate at a conservative 1:3 to 1:2 juice-to-bubbly ratio, gently combining, and minimizing headspace in a pressure-rated bottle or spring-loaded stopper. Refrigerate upright at 34–40°F, label, and you’ll use within 24 hours. If effervescence softens, revive with a splash of opened sparkling wine and add fresh citrus or herbs immediately before serving for ideal texture and flavor and maintain balanced sweetness.